git add behaviour, read this TLDR to learn about interactive staging.git add -p to interactively stage hunks of tracked files. This is a prompt-based workflow. For greater control, use git add -e to interactively stage directly from a diff: Diff Editing a file. This is a line-editing workflow. You can also enter Diff Editing (on hunks) from within git add -p.git add -N or git add --intent-to-add achieves that; it adds an empty version of the file to the staging area. From there, you can interactively stage its contents.That is enough to get you started. You can continue reading if you would like more context and elaboration.
When might you need interactive staging?
Imagine you have contributed on your local across a range of ticket items. A bug fix. A new feature. A refactoring. A documentation update. A build improvement. Etc. But you have forgotten to progressively add and commit your changes as logical units of work. Now you need to commit and push to the remote. You know atomic commits are best practice. What should you do when your working tree is full of intermingled changes?
What we want to achieve
When we have multiple unrelated changes in the working tree, how can we commit each logical changeset so that we do not pollute the commit history?
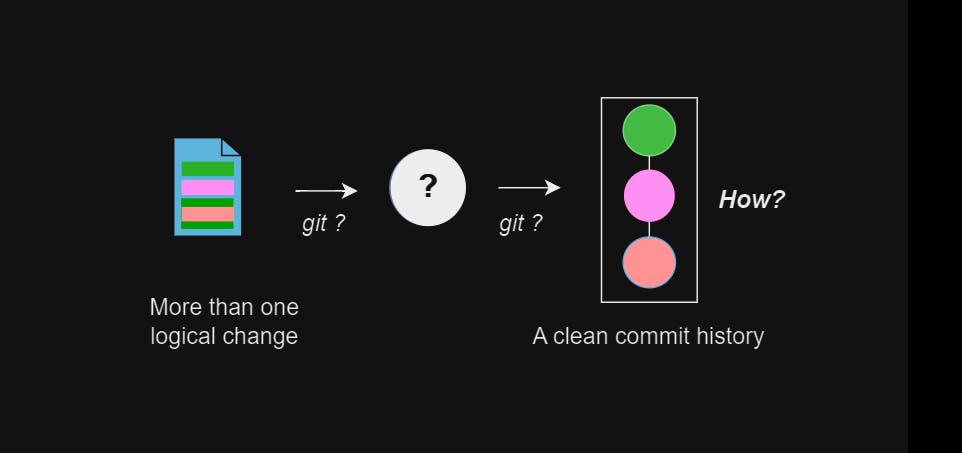
For example, how do we commit just a specific refactoring? How do we then commit just the addition of a new feature? And so on.
The problem with the default git add behaviour
If you use the default behaviour of git add <file> to stage a changeset, all the changes at the <file> path are lumped together. Thus, the default behaviour of git add will pollute the commit history when there is more than one logical change at <file>. Why? Your commit will contain Logical Change A (a documentation change, for example), Logical Change B (a bug fix, for example) and so on. It will not be atomic.
The three staging scenarios
Let's consider which scenarios require interactive staging and which do not.
1) There is one logical change in the working tree
In the simplest case, the working tree consists of only one logical change. This could be across any number of files. The default behaviour of git add <file...>, where all the changes in a <file> are staged, can be used. There is no need for any flags. You will not pollute the history.

2) There is more than one logical change in the working tree (but never more than one logical change in a given file)
You can use the default, flagless behaviour of git add <file...> in this situation too. You will not pollute the commit history.
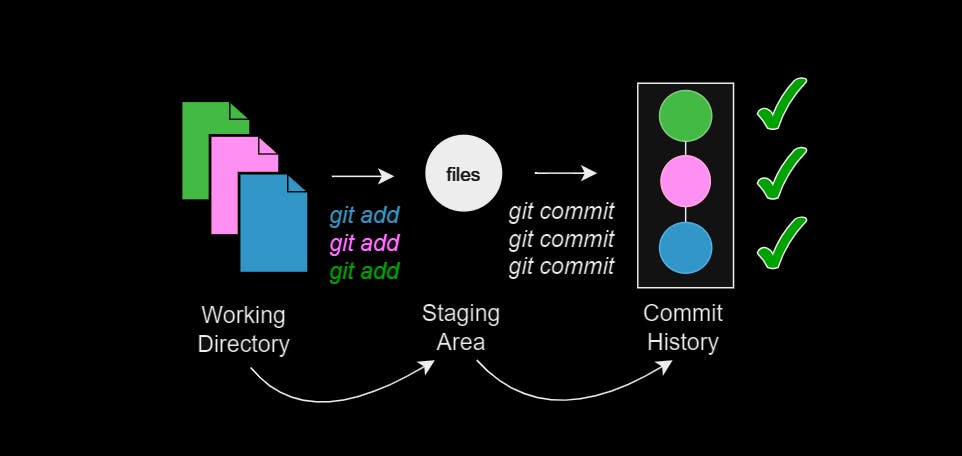
3) There is more than one logical change within a file of the working tree.
In this scenario, you cannot rely on the default behaviour of git add <file>.
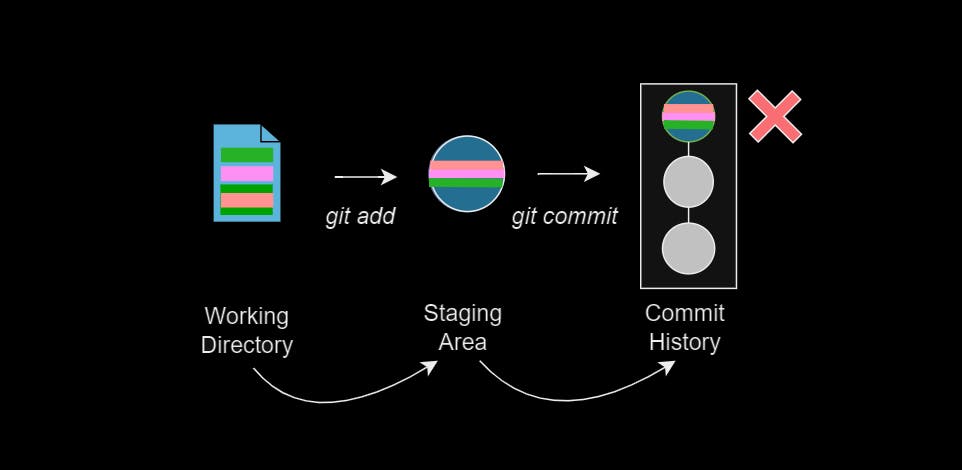
git add <file> pollutes the commit history when there is more than one logical change in a file.The hunk-by-hunk solution
The --patch (-p) option with git add allows you to interactively stage changes in a file hunk-by-hunk.
By staging hunks, you can stage only the subset of changes within a file that are logically related. This is how you can avoid polluting the commit history when a file contains more than one logical change.
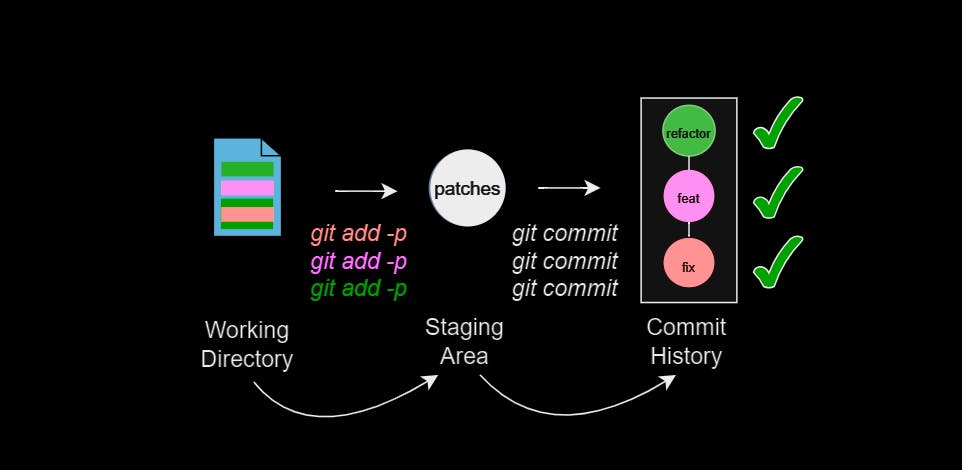
For each hunk, Git presents the diff between the index and the working tree file and prompts you for a decision. Not every command will be shown as a prompt option in each situation; the best way to understand how the prompt loop works in practice is to try the git add -p command out.
However, you can expect something like the following interaction:
Begin interactively staging hunks.git add -p demonstration.txt
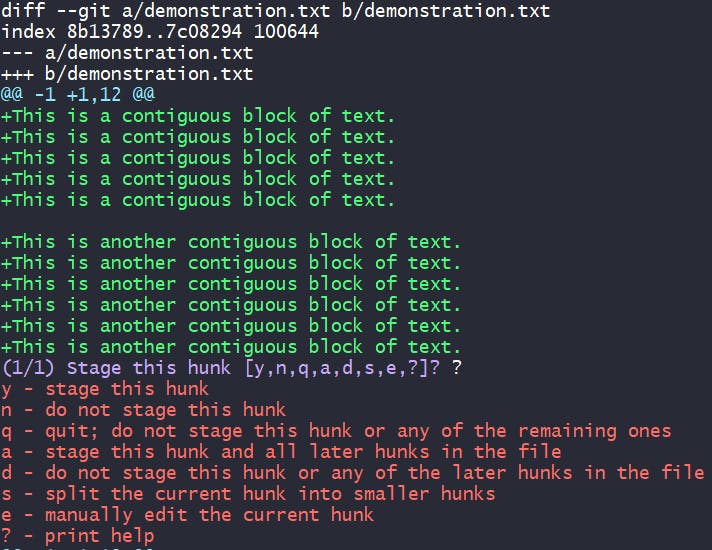
Note that in this hunk the index differs from the working area by two contiguous regions. Observe how the empty line between them is pre-existing and not to be changed, as shown by the lack of + or -.
| Interpreting hunks |
A line starting with - indicates the line is deleted by the change. |
A line starting with + indicates the line is added by the change. |
| A line starting with a space is a context line. It is neither added nor deleted by the change. |
Split the hunk: s
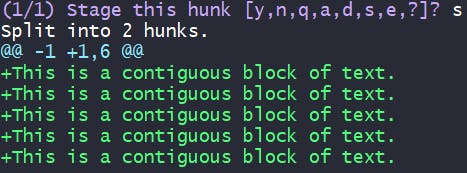
Stage the first part of the split: y
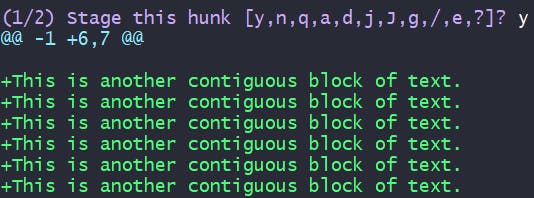
Do not stage the second part of the split: n

Confirm that the correct content has been staged.git diff --staged demonstration.txt
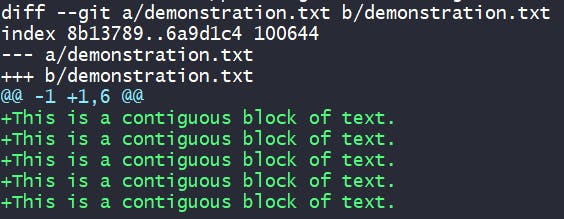
Commit if correct.git commit -m '<type>: <message>'
e option in the git add -p loop to manually edit the current hunk. For maximal control, work with entire file diffs using git add -e or git add --edit.The Diff Edit solution
You can enter the diff editing mode using git add -e or from within the git add -p workflow by selecting the 'e' (edit) option for a hunk. Git will open the diff in your default text editor. You then edit the start-of-line patch syntax to choose which of the changes will be applied.
The table below summarises the patch syntax and how to interact with it.
For example, if a line is to be added when the file is staged, it will have a + for its start-of-line patch syntax. If you don't want that line to be added, delete the line.
| Patch syntax | The line . . . | You can... |
+ | will be added when the file is staged | delete the entire line so it is not added |
- | will be deleted when the file is staged | change - to a space so the line is not deleted |
| (a space) | has no bearing on staging; it only provides a reference point | look at these lines to contextualise the annotated lines |
As with the git add -p hunk-by-hunk approach, the best way to learn Diff Edit staging is to try the commands out: either the 'e' option in the git add -p workflow or git add -e.
You can expect something like the following interaction:
Begin Diff Editing the file.git add -e demonstration.txt
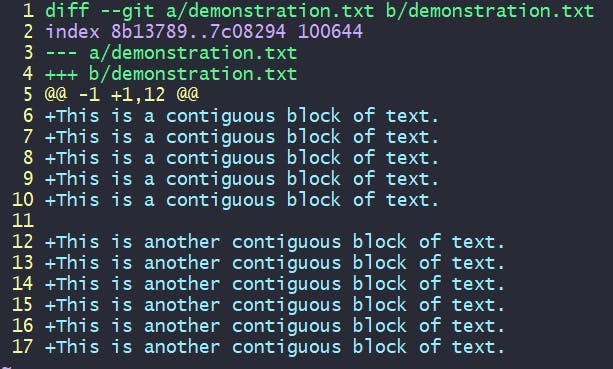
Remove the unwanted + lines so they won't be staged.:12,17d (on vim)
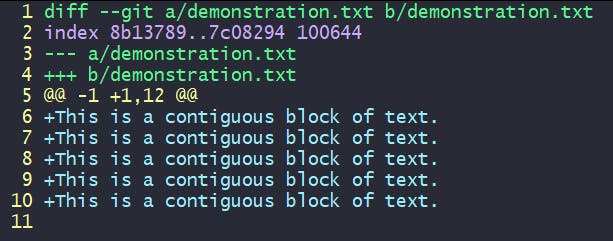
Save and exit the file to stage the desired changes.:wq (on vim)
Confirm that the correct content has been staged.git diff --staged demonstration.txt
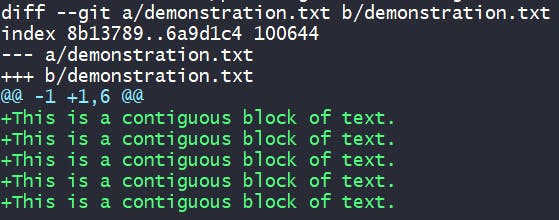
Commit if correct.git commit -m '<type>: <message>'